fbpx

Choosing the Best Paper & Notebooks for your Brush Pens

Choosing the Best Paper & Notebooks for your Brush Pens

Yay, you have new fun pens to play with! Congratulations, and welcome to the pen hoarding club. But with great pen ownership comes great paper responsibility, as paper choice is just as important as selecting your fab pens. When you’re first starting to use your new pens, it can be tempting to use regular printer paper to practice. This is going to result in a shorter life span for your pens that you are so excited to start using. Fortunately, we’re (very) into paper and are here to share some tips on what will help your pens stay in good condition and last longer.

Let’s start by breaking down paper. Sheets of paper are made from pressed paper fibers that have been blended together. When these fibers are long or coarse, the paper has more “tooth”, which is the amount of roughness the paper has. Smooth paper has shorter fibers, resulting in a gentler surface for your pens. Although the tooth might not be noticeable to your touch, pens will definitely feel the difference! The images below show how brush pens react to smooth versus textured paper. You can see on the textured paper that the ink is uneven and rough around the edges – and writing on it tears up the felt pen tip!

Paper Finishes

As a pen owner, you should think of paper like a carpenter thinks about wood. Different woods are better suited for different purposes, just as certain papers are better for certain uses. So what are the different types of paper? Generally speaking, there are two basic categories of paper finishes: smooth or textured. Although wove, bond, and vellum are all considered smooth finishes, we recommend sticking to the actual smooth finish for best results. This will prevent your pens from fraying quickly, because no one likes a frayed tip! Stay away from the textured finishes such as laid, felt, or linen for your pens.

Practice Paper

When choosing your paper for lettering, think about what the purpose will be. Are you practicing or are you looking to letter a project for a gift or framing? Luckily there are great options for both that are easily available on Amazon, Michaels, or other craft supply stores. Here are our favorite practice papers to use.

Strathmore 370-9 300 Series Tracing Pad, 9"x12" Tape Bound, 50 Sheets

Strathmore Tracing Paper is great because you can easily copy over example letters to get a feel for how to form the strokes. You can also place guidelines or a pencil sketch underneath to then trace over with a brush pen.

HP Premium Paper is perfect to have on hand for practicing your lettering. It is affordable and super smooth.

Rhodia Classic Black Notepad 8.25x12.5 Blank (80 Sheets)

Rhodia Notepads come in various sizes and with different types of sheets. You can opt for blank, lined, dotted or graph paper. The guides are helpful for keeping your lettering a uniform size as well as keeping your lines straight.

The Canson Marker Paper works well if you’re looking to practice on a bound pad. The paper is great for any brush pens. It is semi transparent, so you can also put some guidelines underneath. The sheets are thin but ink does not bleed through.

Project Paper

When you are creating a lettering project that you’ll want to keep, use acid-free, archival paper as it won’t yellow over time. After spending time perfecting your masterpiece, the last thing you’ll want is for your paper to start curling or fading! Below are a few recommendations for quality project paper.

Canson Bristol Paper is great for finished pieces because it is heavy weight and has a smooth finish. It also comes in 11×14 if you’re looking for larger paper.

Similar to the Canon Bristol, we also recommend using the Strathmore Bristol Smooth Paper for a heavy weight smooth paper that won’t hurt your brush pens.

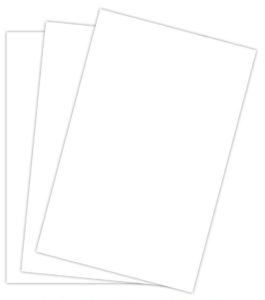
If you’re looking for smooth card stock for a final piece that won’t fade over time, this White Heavy Weight Stock Paper is perfect! You can trim down to your desired size, or even fold to create greeting cards.

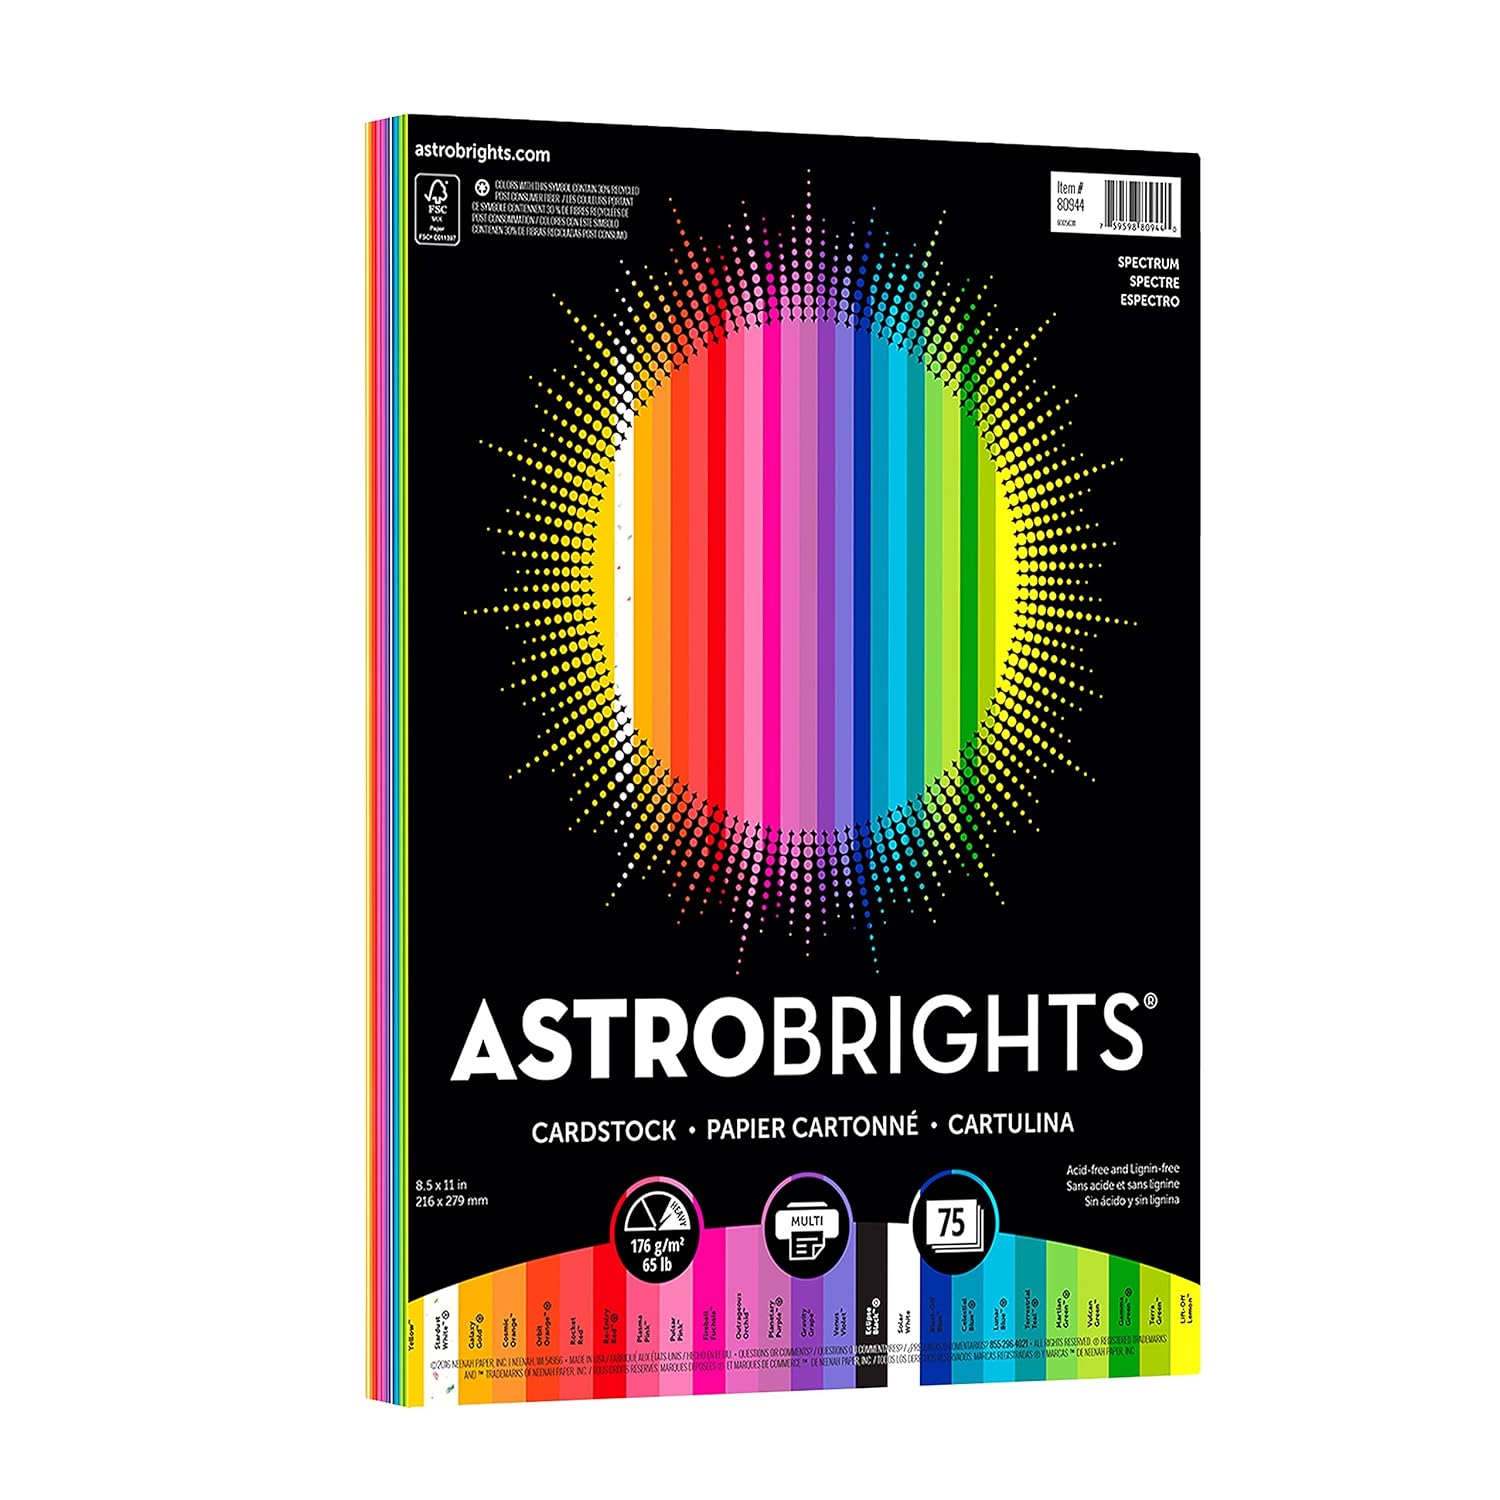
Astrobrights Colored Card Stock variety pack is great if you’re looking for fun color options. It is acid-free quality paper so works well for finished projects.

Notebooks

Of course, it isn’t always possible to carry around a large pad of paper to practice your lettering. We usually carry pens and a few notebooks in our bags so we can easily letter on the go – you never know when you’ll be inspired! 🙂 Although some of these aren’t extra smooth paper, you can still use them with your brush pens, we just don’t recommend them for repeated, long-term practicing. We’ve noted which ones are smooth!

The Leuchtturm1917 Hardcover Notebook is one of our favorite notebooks. With a dot grid and silky smooth pages that are great for your brush pens, we love this for sketching and practice. And it comes in a variety of colors!

We also love the Compendium Motto Journals for lettering on the go. They are pocket-sized notebooks with dot grid smooth paper pages and come in fun colors and quote options.

There are a variety of notebooks available at Muji, including both glue and ring bound in many sizes with blank, lined, dotted, or grid sheets. Since glue bound notebooks don’t always lay flat, the ring bound are especially useful for taking pictures of your lettering. Not all of these are smooth paper, but are great to have as options!

Of course, we love the gorgeous Rifle Paper Co. pocket sized notebooks. These have blank sheets and are always fun to carry around for inspirational lettering while you’re out and about. 

Happy lettering!

We can talk about pens and paper all day, but the main takeaway here is to not use regular printer paper for brush lettering. Since felt brush pens aren’t refillable, they won’t last forever, but if you take care of them using quality paper they will last longer. We’d love to hear about your favorite paper and notebooks for brush lettering!
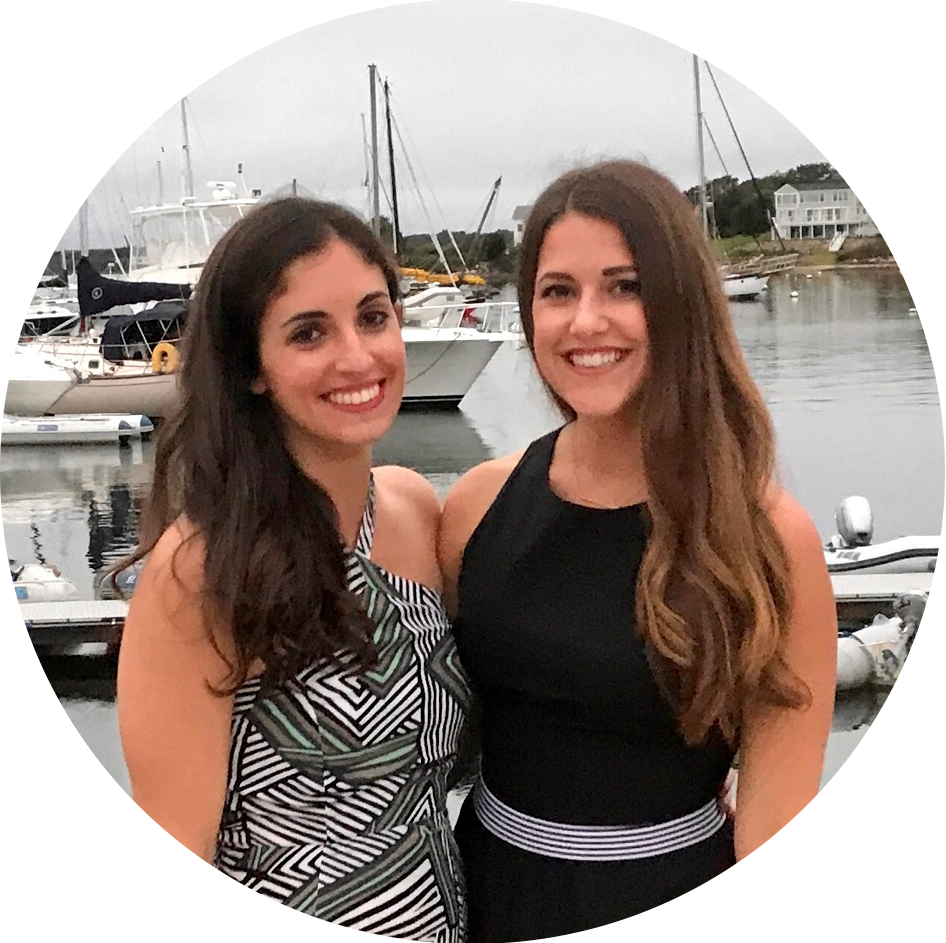
Welcome! We’re Amelia & Natasha and we’re into it

We love hand lettering and graphic design and we’re here to share some of our favorite things!

Instagram Facebook Pinterest Twitter

Taylor & Mike’s Wedding

Taylor & Mike’s Wedding

Taylor & Mike’s wedding was absolutely stunning! We’re celebrating their recent anniversary with a recap of their day and design details. From the dreamy venue, Saltwater Farm Vineyard, to the gorgeous florals and décor, everything was picture perfect. The love and happiness these two share was contagious throughout the whole celebration. And, as friends of the couple we were honored to bring their invitation suite and day of details to life!

Photography by Ali + Julie

Invitation Suite

We always love collaborating with other creatives, and we were excited about the opportunity to incorporate the floral watercolors by Taylor’s cousin, Natalie Walsh of Hello Darling, into this invitation suite. Her hand painted flowers and greenery inspired the look and feel of all the pieces, and even carried through to the bouquets and décor for the big day.

With additional watercolor details and a modern script, the fully custom design came together. We created an RSVP postcard and a lovely detailed map of the wedding area to go along with the invitation card. It’s so fun to add designs to envelopes and we love the addition of floral detail to the back of the envelope for the couple’s return address. The color scheme was drawn from the florals and carried through to a bunch of day of elements, including the bridesmaid’s dresses.

Day of Details

The ceremony and reception featured drop dead gorgeous floral arrangements, and we carried through the watercolor florals to the wedding day details we designed. Taylor’s additional touches of the wands and flags for guests to wave were such a fun component to go along with the ceremony program we designed. The escort cards were a fun circular shape and hung on a frame that the bride put together herself.

The menus continued the cohesive design and were a beautiful addition to each place setting. With the string lights and vineyard setting, the ambiance of the reception was such a dream. And seriously, how breathtaking is this tablescape?!

For the wedding party, we also designed welcome bags that featured “hello” in the different languages spoken by wedding guests. Taylor was thoughtful in her request for so many personal details throughout the day! We had a lot of fun creating this custom, hand lettered design, and then passed them off to be screen printed by Poor Morgan.

What an absolutely beautiful celebration and we loved being a part of it. Scroll on to see photos of the beautiful couple on their special day!

Vendors

Photography – Ali + Julie
Planning & Coordination – Jubilee Events
Ceremony & Reception Flowers – Hana Floral Designs
Personal Flowers – Hello Darling
Floral Watercolor – Natalie Walsh
Venue – Saltwater Farm Vineyard
Beauty – Simply Gorgeous by Erin
Stationery – We’re Into It

Welcome! We’re Amelia & Natasha and we’re into it

We love hand lettering and graphic design and we’re here to share some of our favorite things!

Instagram Facebook Pinterest Twitter

Natasha & John’s Wedding

Natasha & John’s Wedding

Amelia and I have enjoyed working on hand lettered details from save the dates to invitations to reception décor for many weddings, but there is something so special and exciting about getting to be your own client. John and I got married last year in our hometown of Mystic, Connecticut on a beautifully windy summer day. It was a whirlwind weekend filled with love surrounded by our wonderful family and friends. And I took every opportunity to personalize the day with special design details and hand lettered touches!

Photography by Zac Wolf Photography

Our Story

Before diving into all our wedding details, here’s a little background on John and I. We met in middle school, became friends, and started “going out” at the end of 8th grade. We filled our summer with *gasp* unsupervised movies and bike riding around neighborhoods with friends. We went our separate ways at the beginning of high school but reconnected at the end of our senior year. Thanks to some friends setting us up, we went from the friend zone to attending prom together and had yet another summer romance, enjoying the excitement and freedom of venturing off to college in the fall. John was headed to DePaul in Chicago and I was off to Northeastern in Boston, and I wasn’t so sure about having a long distance “high school boyfriend” while starting my freshmen year of college. But there was something special about John so I decided to give it a chance – and we survived! John transferred to Northeastern sophomore year and we had fun exploring Boston together. We moved in with a few friends and eventually got our own place together in 2010. We bounced around different apartments in the Fenway and South End areas over the next few years.

Flash forward to June 2016 and we went on a magical trip to Barcelona. I had always dreamed of visiting the gorgeous European city, and Radiohead (John’s favorite band) was playing there so it was perfect timing. John stealthily packed an engagement ring in his backpack and proposed during our vacation – of course we celebrated with copious amounts of cava. We fell in love with the city for many reasons (Paella! Manchego! Sangria!) and can’t wait to go back. But first, there was wedding planning!

We both love our coastal New England hometown, so it was easy to choose the location, and there was no question I wanted a summer wedding by the water. My parents quickly helped us scope out a few venues and once we saw the Mystic Yachting Center we knew we had our spot. The rest of our planning came in waves, as all brides know sometimes it’s overwhelming and sometimes you’re twiddling your thumbs, but in the end it somehow gets pulled off – with lots of help! Read on to see how our wedding weekend came together.

Save the Dates

Since our relationship started when John and I were so young, we thought sharing our story with a creative timeline highlighting the special moments in our life together would be perfect for our save the date. We enjoyed going down memory lane as we remembered the different stages of our time together. We wanted it to be fun and light hearted but still call out dates that were really important to us. And, of course being a designer I felt the pressure of creating something unique! I knew I wanted the final shape of the card to be a square, so it took some trial and error to make the folds perfect, but I was really happy with the outcome.

Zac Wolf Photography captured our love as we walked around our South End neighborhood for our engagement photoshoot. Once we choose our favorite photos, the save the date card was complete. Check out the video of the save the date to see how it unfolds!

A post shared by We're Into It (@were_into_it) on

For envelopes, I looked to Paper Source and found the peacock color to be perfect. I used a custom stamp, also from Paper Source, for our return address. I highly recommend brides (and everyone really!) to have one of these, they are not expensive and are truly worth it with all the wedding related mail you’ll be sending. I decided to add a little something extra and embossed our return addresses in gold on the back flap. I used the Sakura Pen Touch extra-fine pen in gold to hand letter the mailing addresses. Finally, with a custom postage stamp from Zazzle our save the dates were ready to be mailed!

Invitations

After a somewhat “complicated” save the date, I thought a simpler invitation suite was the way to go. Channeling an ocean theme, I decided on a blue and teal watercolor background with a special touch of gold foil for the original hand lettering. With a gold ribbon to tie the cards like a present, the invitation suite came together.

I choose envelopes from SoHo Paper, addressed them in gold ink, and carried the watercolor background from the invitations through to the custom stamps. I wanted the stamps to really shine, so I wrote over the printed gold with the Pen Touch pen so they sparkled – I know, crazy, but these are the things I get excited about about! Once the invites were mailed, the wedding actually started to feel real. And as a snail mail lover, I must say getting the RSVP envelopes in our mailbox was so much fun!

Décor and Welcome Signage

More fun stuff! And oh boy did we have a lot of it. I decided to carry the watercolor and gold details from the invitation through to the look and feel for the wedding day décor and details. No matter how organized I tried to be, all the last minute signage definitely became overwhelming! Luckily, I could turn to Amelia to help divide and conquer my long list and all the signage was completed beautifully. Our guests were greeted with a framed glass welcome sign, lettered in white with a specialty paper background. Shout out to my dad and friend Brian for making the easel out of driftwood to hold this sign! They also made the driftwood arbor we were married under, which included a hand lettered sign of our names and wedding date, and was decorated beautifully with eucalyptus greenery by A Gala Affair.

I had opted for a eucalyptus and succulent filled bouquet, so I wanted to carry the greenery theme through to the reception. Being a huge succulent fan, I was excited to use the little plants for place cards and have as favors for our guests. I really enjoyed lettering everyone’s names for these! To tie in the plant theme further, we also gave our guests little packets of wildflower seeds in envelopes with gold lettering “let love grow”. Thanks to the girls on my Beyoncé themed bachelorette trip for helping fill these little envelopes 🙂

I used the same paper from our welcome sign backing to bind our guestbook. Again, I turned to Paper Source for having all the DIY materials I needed for this. With a few family photos, our welcome area was complete.

Menus & Programs

The same blue and green watercolor background continued to our menus and programs. We chose to have different food stations instead of a plated meal, but we still included a menu at each person’s place setting in order for them to easily know what their options were.

And of course, no wedding is complete without a specialty drink! John came up with a play on the French 75 cocktail calling it the Mystic 88 after our hometown and birth year. We definitely enjoyed these, and hope our guests did too!

Centerpieces

For our table centerpieces I had my heart set on these little sand boxes that would hold sand from different beaches that were sentimental to John and I. We were able to snag these little jewelry boxes from H&M Home and then I printed a little story about the beach on clear stickers to adhere to the box. They also served to hold the fun script table numbers from Etsy, that I of course just had to spray paint gold.

Special Treats!

We had a selection of small deserts and a s’mores bar for our guests, but we wanted to have a little celebration cake for ourselves. Our absolutely delicious strawberry-thyme champagne cake was baked by my sister’s friend Fiona. She has her own bakery company, Fiona’s Forbidden Fruit, and her vegan recipes and treats are amazing! We were too busy on the wedding day to enjoy it so we had it at our brunch the next day. Yum!

My mom’s friend Linda made delicious chocolate truffles that we included at each guests place setting. They were such a special treat. My grandparents worked together to put the boxes together and paste in the little note – wedding prep truly is a team effort!

Bridal Party Gifts

Of course I was so excited to ask the special girls in my life to be a part of our wedding day. I put together a box of goodies with a card, mini bottle of bubbly, a framed picture of the two of us, and fun nail polish. I had to add a little Beyoncé touch, so I lettered “i love you like xo” with a gold embossed xo on the inside of the lid. It was so fun to give these to my ladies!

For the wedding day I gave each girl yet another card, a getting ready robe, a pair of earrings for the day, a hand lettered print of a quote I thought they would like, and of course a Beyoncé quote on a tote bag to carry their things around. The tote bags were printed by a friend’s screen printing company, Poor Morgan, and I loved how they came out so much Amelia and I decided to start making some to sell!

Thank You!

All of this couldn’t have been possible without the love and support from our family and friends. From the gorgeous rehearsal dinner (thanks Karen & Glenn!), to the wedding day, through to the perfect Sunday brunch (thanks mom & dad!) we felt so lucky to have been surrounded by our loved ones who traveled to celebrate with us. Wedding planning can be a beast but in the end the memories and love that filled the weekend made it all worth it. And the honeymoon in Italy was a dream, especially after all that work!

Thanks to Sam and JJ for officiating, it was so special to have our friends marry us. My sister, Ana, was a most gorgeous Maid of Honor and John’s brother, Andrew, a handsome Best Man. The two gave speeches that made the whole room cry! My parents gave memorable speeches too! Thanks to Stefan of Aleo Media Productions, we have a video of the day we can relive on our anniversaries. Our wedding party was fantastic, and we absolutely loved spending the day with you all. Thank you to Leslie for hosting the girls to get ready, and Rob for the boys. The fabulous Jessica and Rebecca at Upstyle made us ladies feel and look our best with wonderful hair and make up, thank you. Thank you Acebo Jewelry for our custom designed wedding bands, we love them! Our gorgeous bouquets and reception arrangements couldn’t have been possible without A Gala Affair, thank you for bringing my eucalyptus vision to life.

To the countless others who helped us organize the weekend and make our wedding dreams come true, thank you!! We’re still feeling so lucky to have you all in our lives. And thank you for reading, hope you enjoyed! Scroll on to see the special moments captured from our day, thanks to Zac & Ally! 🙂

Vendors

Florals – A Gala Affair
Dress & Shoes – BHLDN
Cake – Fiona’s Forbidden Fruit
Groom’s Suit – Hive & Colony
Catering – Ocean Blue Catering
Hair & Make Up – Upstyle
Photography – Zac Wolf Photography
Stationery – We’re Into It

Thank you for working so hard to make our special day perfect!

Welcome! We’re Amelia & Natasha and we’re into it

We love hand lettering and graphic design and we’re here to share some of our favorite things!

Instagram Facebook Pinterest Twitter